Why Plumbing Fixture Installation Transforms Your Home
Plumbing fixture installation can transform your home's look and function. Upgrading a leaky faucet, replacing an old toilet, or installing a modern shower system boosts your home's value and offers DIY satisfaction.
Quick Answer: Essential Steps for Plumbing Fixture Installation
- Turn off water supply at the main valve or fixture shutoff.
- Remove old fixture by disconnecting supply lines and mounting hardware.
- Clean and prepare the installation area.
- Install new fixture following the manufacturer's instructions.
- Connect supply lines with proper sealing (Teflon tape or plumber's putty).
- Test for leaks by slowly turning the water back on.
- Make final adjustments and clean the workspace.
Modern fixtures offer more than just good looks. Water-saving models can cut your utility bills significantly—a single leaky faucet wastes over 2,000 gallons annually. Updated fixtures are also easier to use and maintain.
The key to success is proper preparation and knowing your limits. Faucet installations typically take 1-2 hours, while toilets need 2-3 hours. Complex shower work can take half a day or more.
This guide covers choosing fixtures, essential tools, step-by-step processes, and when to call a pro for guaranteed results.
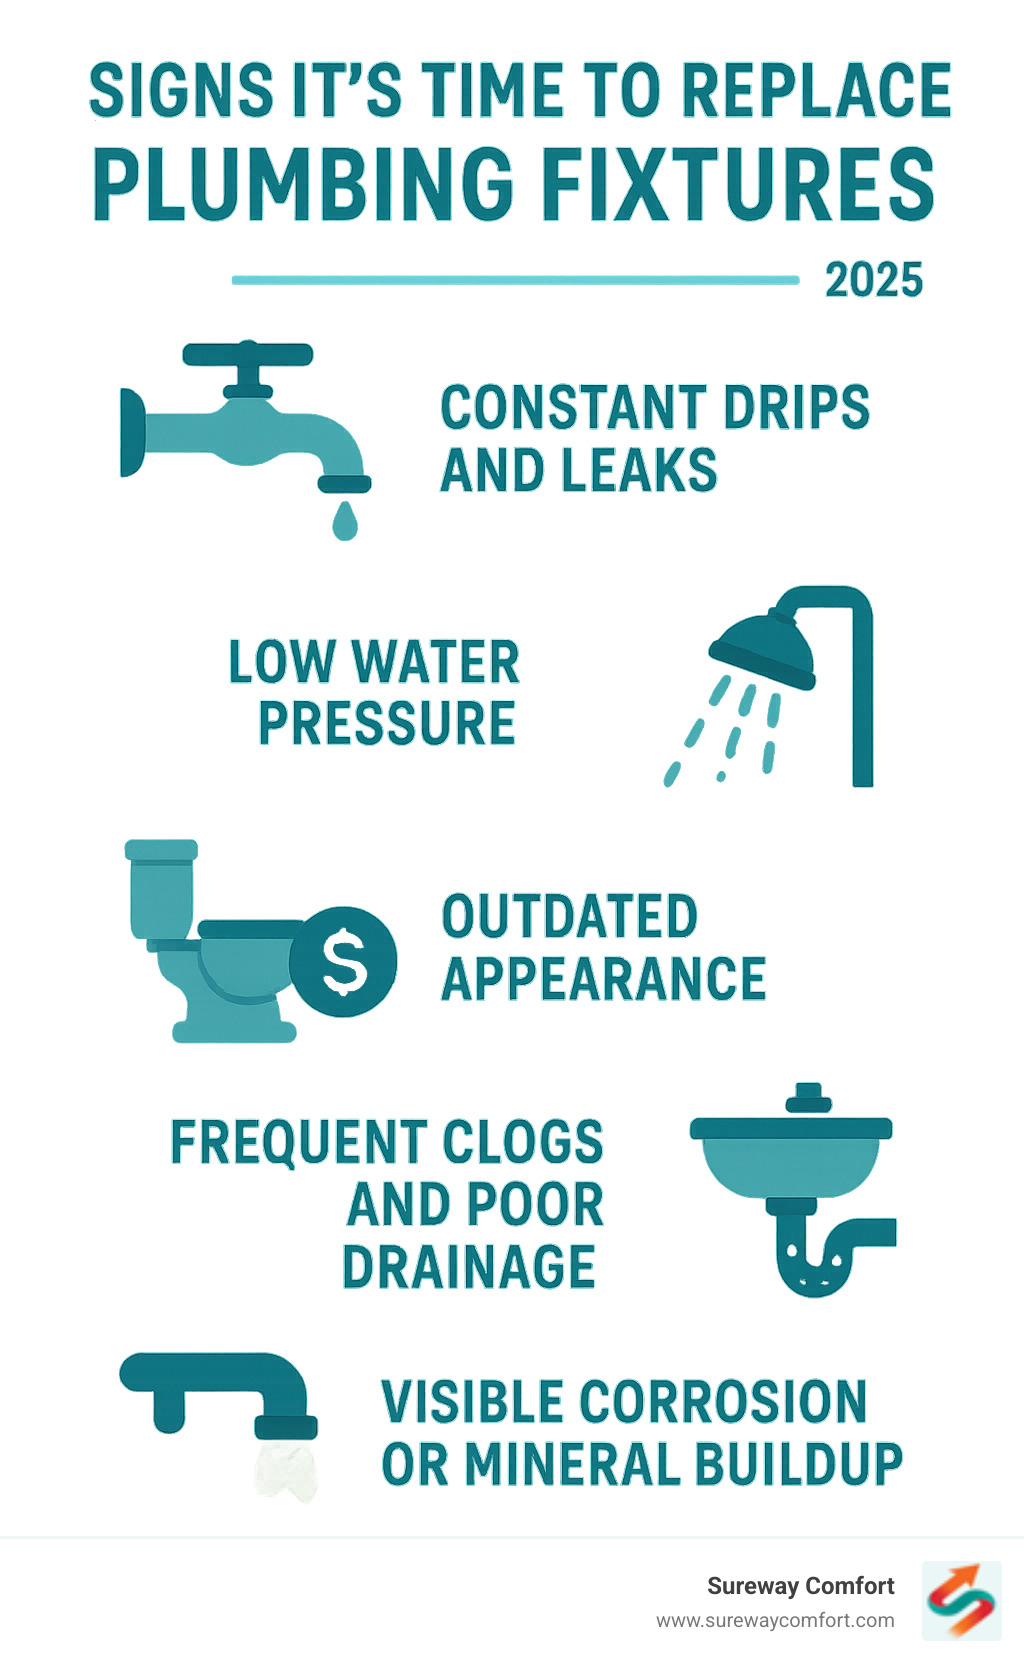
Simple guide to plumbing fixture installation:
Before You Begin: Choosing Fixtures and Gathering Supplies
Proper planning is key to a smooth plumbing fixture installation. There's nothing worse than getting halfway through a project only to realize your new faucet doesn't fit the sink.
Selecting the Right Fixtures for Your Home
Choosing fixtures involves considering compatibility, function, and your budget to ensure a worthwhile investment.
Compatibility is crucial. Check your sink's hole configuration—some faucets need one hole, others need three. For toilets, measure the rough-in distance from the wall to the center of the drain pipe. Most are 12 inches, but older homes might have 10 or 14-inch setups.
For shower fixtures, ensure your existing plumbing lines can handle the water pressure. Larger supply lines might be needed to prevent temperature swings when someone flushes a toilet elsewhere.
Function and style go hand in hand. Water-saving features like low-flow toilets and aerators can slash your water bills; a single leaky faucet wastes over 2,000 gallons annually. Finishes matter too—chrome is classic, matte black offers a modern edge, and brass brings warmth. Consider your daily routine when choosing.
Your budget deserves careful thought. While it's tempting to grab the cheapest option, quality fixtures often save money long-term by avoiding repairs. Consider the long-term value of spending a bit more upfront for years of trouble-free operation.
Essential Tools and Materials for Fixture Installation
The right tools make plumbing fixture installation much easier. You'll need an adjustable wrench, a basin wrench for tight spaces under sinks, pliers, and a screwdriver set.
For sealing, have plumber's putty and Teflon tape on hand. Pro tip: always wrap Teflon tape clockwise! Keep a bucket and rags or towels handy for water spillage.
Don't forget safety glasses. You'll also need the new fixture, fresh supply lines (old ones can be brittle), and possibly new shut-off valves if your current ones are old or missing.
How to Prepare Your Plumbing System
Proper preparation prevents major headaches and sets the stage for success.
Shutting off the water is non-negotiable. Use your main water valve or the individual fixture stops under the sink. When in doubt, shut off the main supply.
Once the water is off, drain the lines completely by opening faucets to remove pressure and minimize mess.
Clean the work surface thoroughly by scraping off old caulk and wiping away grime. This is also the perfect time for inspecting for pre-existing damage like soft subflooring around a toilet or corroded pipes that might need professional attention.
Step-by-Step Plumbing Fixture Installation Guides
With preparation complete, these step-by-step guides will walk you through the most common plumbing fixture installation projects.
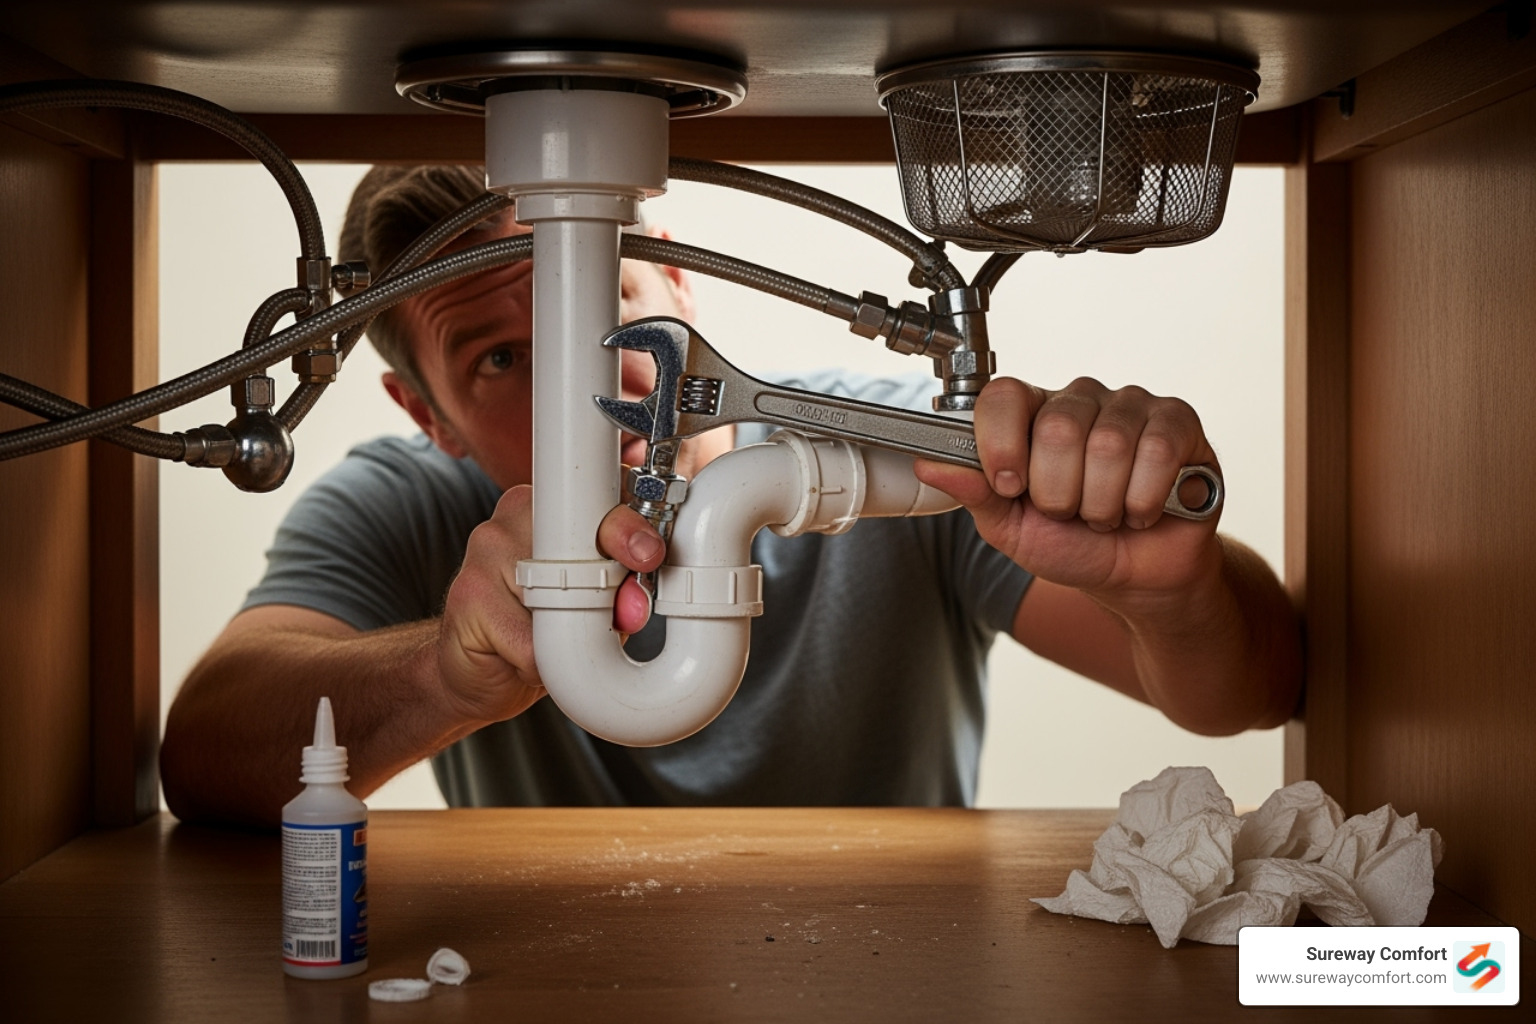
How to Install a Bathroom Sink Faucet
Installing a bathroom faucet is a great starting project for DIY plumbing.
To remove the old faucet, disconnect the water supply lines (keep a bucket handy for drips). Use a basin wrench to loosen the mounting nuts under the sink, then lift the old faucet out. Thoroughly clean the surface, removing old putty or caulk for a better seal.
To install your new faucet, place the included gasket or a bead of plumber's putty on its base. Lower it through the sink holes and secure it from underneath. Hand-tighten the mounting nuts first, then use a basin wrench for a final quarter-turn. Avoid overtightening to prevent cracking the porcelain.
Connect new supply lines to the faucet, hand-tightening first, then giving a quarter to half turn with a wrench. Connect the other ends to the shut-off valves. Install the drain pop-up assembly according to the manufacturer's instructions.
Finally, test your work. Slowly turn the water back on and check all connections for leaks. A small drip can often be fixed with a slight tightening.
How to Install Shower and Tub Fixtures
Shower and tub installations are more complex, especially if they involve replacing the valve.
To remove old fixtures, take off the handles, escutcheon plate, and tub spout. The spout may unscrew or have a hidden set screw that needs loosening.
Replacing a shower valve is the most challenging part and may require accessing the wall from behind or cutting tile. Ensure the new valve is set at the correct depth to account for wall thickness. Pro tip: For drains, use two 45-degree fittings instead of one 90-degree fitting for better flow and easier cleaning.
Once the valve is installed, wrap the tub spout and shower arm threads with Teflon tape (clockwise) before installing them. Attach the new showerhead.
After testing for leaks, seal around the escutcheon plate and tub spout with high-quality bathroom caulk to prevent water from getting behind the wall.
How to Install a New Toilet
Installing a toilet is a manageable, sequential process.
To remove your old toilet, shut off the water supply, then flush to drain the tank and bowl (use a sponge for remaining water). Disconnect the supply line and unbolt the toilet from the floor. Gently rock the toilet to break the wax ring seal, then lift it straight up with a helper.
Prepare the installation site by scraping off the old wax ring and cleaning the flange. Inspect the flange for damage and ensure it sits at least 1/4 inch above the finished floor (use flange spacers if it's too low). Insert new flange bolts into the slots.
To install the new toilet, place a fresh wax ring on the flange. Carefully align the bowl with the flange bolts and press down firmly, rocking gently to compress the wax ring and create a good seal.
For final assembly, secure the bowl with washers and nuts, tightening evenly and being careful not to overtighten and crack the porcelain. Attach the tank, connect the new supply line, and slowly turn the water on. Flush several times and check every connection for leaks. A final bead of caulk around the base creates a finished look.
Pro Tips and Avoiding Common Installation Mistakes
Even experienced DIYers can make mistakes. Here’s how to avoid common traps during your plumbing fixture installation.
Common Mistakes to Avoid During Your plumbing fixture installation
Small plumbing mistakes can cause big problems, but they are avoidable if you know what to watch for.
Overtightening is a common error. It strips threads and cracks porcelain. Tighten connections until they are snug, but do not use excessive force. A firm, confident turn is better than a crushing one.
Improper sealing causes leaks. When using Teflon tape, always wrap it clockwise around the threads so it doesn’t solve as you tighten the fitting.
Inaccurate measurements can derail a project. Measure everything twice—faucet configurations, toilet rough-ins, valve depths—before you buy to avoid return trips to the hardware store.
Always flush the supply lines before connecting a new fixture. This clears out sediment and debris that can immediately clog new aerators and reduce water flow.
Ensuring Proper Water Pressure and Temperature
Proper water pressure and temperature are key to your daily comfort.
For weak water pressure after installation, first check that all shut-off valves are fully open. Next, unscrew and clean the new fixture's aerator, which may have trapped debris from the pipes. If pressure is low throughout the house, your main pressure regulator may need attention.
To prevent sudden temperature changes in the shower, install pressure-balancing or thermostatic shower valves. They maintain a consistent temperature even when water pressure drops elsewhere. For new shower installations, consider running separate 3/4-inch supply lines to improve pressure and stability.
Post-Installation Troubleshooting
If issues arise after installation, don't panic. Most problems have straightforward solutions.
Leaks from threaded connections often just need gentle tightening. If that doesn't work, disassemble the connection, apply fresh Teflon tape, and reassemble. A leak at the toilet base usually means a failed wax ring seal, which requires removing the toilet and installing a new ring.
Low flow problems are often caused by partially closed shut-off valves or clogged aerators.
Wobbly fixtures need immediate attention. Tighten the mounting nuts to fix a loose faucet. For a wobbly toilet, check the flange bolts and use toilet shims if the floor is uneven to create a stable base.
When to Call a Professional Plumber
While many plumbing fixture installation projects are DIY-friendly, there's real wisdom in knowing when to call in a professional. Protecting your home—your biggest investment—with professional expertise is a smart strategy.
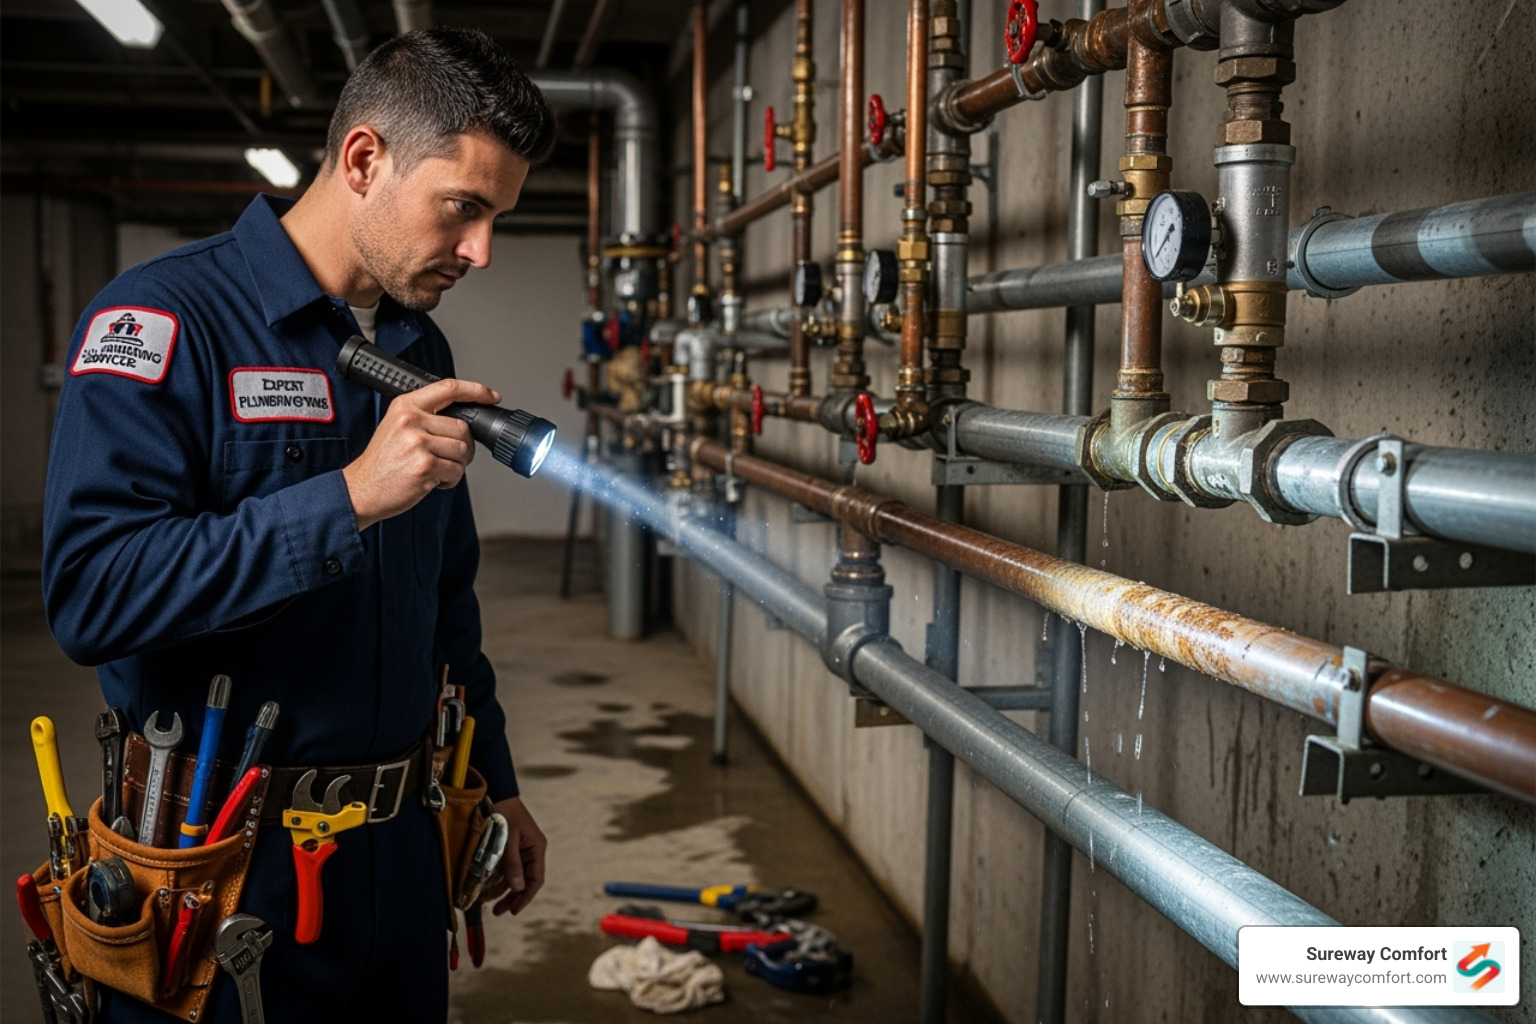
DIY vs. Pro: Recognizing Your Limits
Simple faucet or toilet swaps are often manageable for a confident DIYer. However, plumbing can be more complex than it appears on the surface. If you feel overwhelmed, second-guess your steps, or lack experience with similar projects, it's a sign to call for professional help.
Red Flags That Require a Pro
Certain situations are bright red flags that require a professional plumber immediately:
- Damaged pipes or rotted subfloors: Finding soft flooring under a toilet or corroded pipes in a wall are serious structural issues that need an expert.
- Moving plumbing lines: Relocating water or drain lines requires specific tools and knowledge of building codes and proper drainage slopes to avoid chronic clogs.
- Major leaks you can't stop: If water is gushing, call for emergency help. At Sureway Comfort, we understand that plumbing emergencies don't wait for business hours.
- Electrical connections: Fixtures like smart toilets require a qualified electrician. Water and electricity are a dangerous combination not suited for DIY.
The Value of a Pro
Professional installation offers peace of mind, expert guidance, and quality assurance.
- Guarantees and warranties: When Sureway Comfort installs your fixtures, we stand behind our work. If something goes wrong, you're covered.
- Proper tools and experience: Professionals can handle any challenge efficiently, from rusted bolts to unusual plumbing configurations, preventing potential DIY headaches.
- Code compliance: A professional plumber ensures your installation is safe, legal, and meets all local building codes, protecting your home's value.
- Efficiency: Professionals work quickly and correctly, saving you time and stress so you can enjoy your new fixtures sooner.
World Plumbing Day reminds us of the importance of professional plumbing for public health and safety.
At Sureway Comfort, our experienced technicians bring expertise to every job. For professional installation you can trust, Contact us for professional plumbing services in Mt. Lebanon, PA and experience the Sureway difference.
Frequently Asked Questions about Plumbing Fixture Installation
We love hearing from homeowners about plumbing fixture installation! Here are answers to some of the most common questions.
How long does a typical plumbing fixture installation take?
It depends on the project and your experience. For a handy DIYer, a bathroom sink faucet installation might take 1-2 hours. A toilet installation typically takes 2-3 hours, as it requires patience. Shower and tub fixtures can take a few hours for a simple swap, but replacing a valve can take half a day or more and is often a job for a pro. Professional installations are much faster due to experience and specialized tools.
Can installing new fixtures really save money on water bills?
Absolutely. Upgrading to modern, efficient fixtures is good for your wallet and the environment. A single leaky faucet can waste over 2,000 gallons of water annually. By installing fixtures with the WaterSense label, you'll see real savings on your monthly bills. Low-flow toilets and aerated faucets use significantly less water without sacrificing performance, and the upgrade can pay for itself over time through lower utility costs.
What is the average cost to have a fixture professionally installed?
Costs vary by job complexity, but we can provide general guidance. Professional installation costs for faucets and toilets typically cover labor and expertise, but not the fixture itself. The final price depends on factors like needing new shut-off valves or other complications with existing plumbing. While professional installation costs more upfront, it can save money long-term through guaranteed work, efficiency, and preventing future problems. For a personalized, transparent estimate for your home, we'd love to help.
Ready to upgrade your fixtures with professional installation? Contact us for a free consultation and estimate. Our experienced technicians make the process seamless and stress-free!
Conclusion: Enjoy Your Upgraded and Efficient Home
There's real satisfaction in admiring your newly installed fixtures. A successful plumbing fixture installation transforms your daily routines, whether it's a sleek, non-dripping faucet or a modern, efficient toilet.
Your home is now working more efficiently. The water-saving features in modern fixtures reduce consumption, lower utility bills, and increase your home's value and appeal. This is an upgrade that benefits both your wallet and the environment.
DIY installation is rewarding when you have the right knowledge and preparation. Our step-by-step guides are designed to give you the confidence to tackle common projects safely and effectively.
However, knowing when to call in the pros is just as important. Some jobs require specialized tools, extensive experience, or the guarantee that comes with professional work. There's no shame in recognizing when a project is beyond your comfort zone.
At Sureway Comfort, our experienced technicians have seen every possible plumbing scenario. When you need a seamless, worry-free installation or when unexpected complications arise, we're here to ensure everything works perfectly.
Ready to upgrade your home's plumbing fixtures? Whether you need expert advice, professional installation, or emergency services, we're just a call away.
Contact us for professional plumbing services in Mt. Lebanon, PA!






.avif)


