+

We are here to help. A person on our team will text you back! 🙌
Thank you! Your submission has been received!
Oops! Something went wrong while submitting the form.
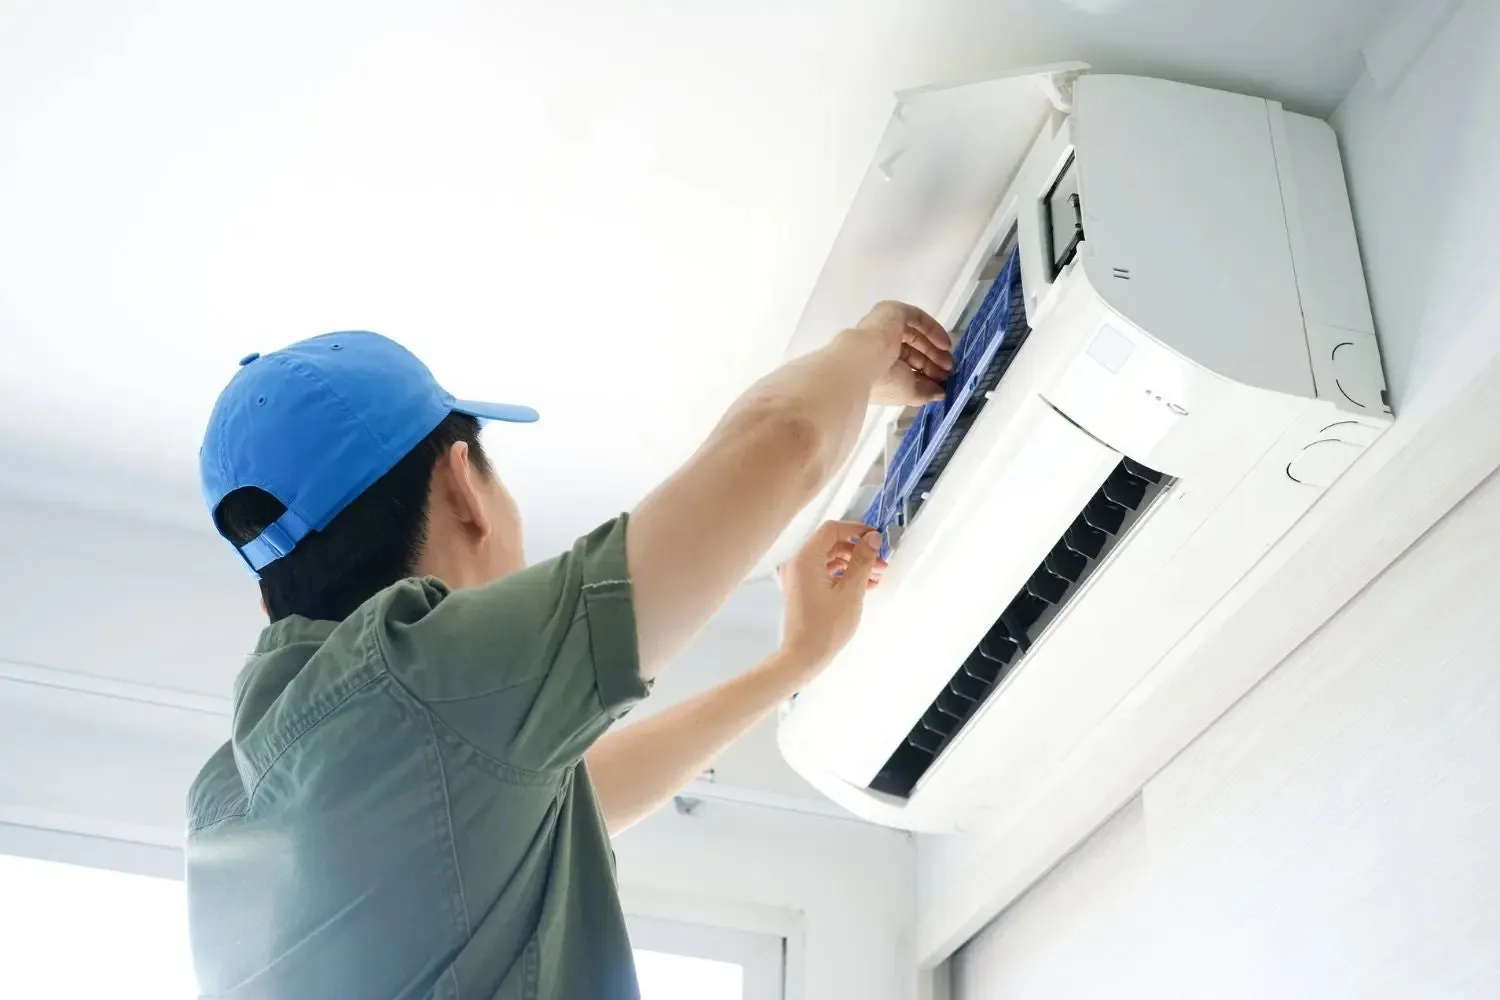
Mini Split Repair in McDonald, PA
Mini split repair McDonald, PA: expert ductless system diagnostics, leak detection and fast service. Learn more about our expert technicians today.

Why Local Expertise Matters
- Community-Based Technicians: Born and raised in the South Hills, our team understands McDonald’s unique climate challenges—from humid summer days to cold winter nights.
- Certified Repairs: Each technician holds EPA certification for refrigerant handling as well as NATE or equivalent HVAC credentials.
- Transparent Communication: You’ll receive a clear explanation of the issue, the proposed solution and an accurate timeline before any work begins.
Common Mini Split Problems
- Refrigerant Leaks
- Signs: Reduced cooling capacity, hissing sounds near lines, ice formation on evaporator coils.
- Impact: Low refrigerant levels force the compressor to work harder, increasing energy consumption and risking compressor damage.
- Frozen or Dirty Coils
- Signs: Frost buildup on indoor unit, system cycles on and off, insufficient airflow.
- Impact: Compromised heat transfer leads to poor efficiency, potential coil corrosion and water leaks when ice melts.
- Drain-Line Clogs & Water Leaks
- Signs: Pooled condensate under the indoor unit, musty odors, overflow alarms.
- Impact: Water damage to walls and ceilings, mold growth and degraded indoor air quality.
- Fan Motor or Capacitor Failures
- Signs: Loud humming, intermittent operation, complete airflow loss.
- Impact: Without proper airflow, heat exchange is disrupted and system shutdowns become more frequent.
- Electrical Issues
- Signs: Tripped breakers, flashing LEDs on the control board, unresponsive remote or thermostat.
- Impact: Untreated electrical faults can lead to burned-out components or system lockouts.
- Sensor & Thermostat Malfunctions
- Signs: Inaccurate temperature readings, random on/off cycles, inability to maintain setpoint.
- Impact: User discomfort, energy waste and unnecessary wear on system components.
Our Diagnostic Process
- System Inspection & History Review: We begin by reviewing your unit’s service history, age and any prior repairs. A preliminary visual inspection checks for obvious damage or leaks.
- Pressure Testing & Leak Detection: Using dry-nitrogen pressure tests and advanced electronic leak detectors, we pinpoint hidden refrigerant leaks in lines and connections.
- Airflow & Filter Examination: Proper airflow is crucial. Filters, coils and blower wheels are inspected and cleaned as needed, ensuring unobstructed air movement.
- Electrical Component Testing: Voltage and continuity tests on capacitors, contactors and circuit boards verify stable power delivery. Breaker panels and control wiring are also examined.
- Sensor Calibration: Indoor-unit sensors are checked for accuracy. Faulty sensors can be recalibrated or replaced to restore precise temperature control.
- Detailed Repair Plan & Estimate: Once the root cause is identified, we present a repair proposal outlining necessary parts, labor and an estimated timeline—so you know exactly what to expect.
Typical Repair Services Offered
- Refrigerant Leak Repair & Recharge
- Leak sealing, line replacement or brazing as required.
- Precise refrigerant recharge to manufacturer specifications.
- Coil Cleaning & Defrost Restoration
- Chemical coil cleaning to remove scale and debris.
- Repair or replacement of defrost heaters and sensors.
- Drain-Line Clearing & Pan Maintenance
- Jet-flush drain lines and condensate pans to remove blockages.
- Install or repair safety switches to prevent overflow.
- Fan Motor & Capacitor Replacement
- Match and install factory-rated fan motors, capacitors and mounting hardware.
- Balance and lubricate blower assemblies for quiet operation.
- Electrical Wiring & Control Board Repairs
- Replace worn fuses, relays or contactors.
- Repair or swap out electronic control boards and communication modules.
- Thermostat & Sensor Upgrades
- Install programmable or Wi-Fi-enabled controllers.
- Replace faulty temperature or humidity sensors for accurate readings.
Repair vs. Replace: Making the Right Choice
In McDonald’s climate, a well-maintained mini split can last 12–15 years. When repair costs approach 50% of a new system’s value—or when multiple components fail—replacement may be more economical. We’ll provide a straightforward comparison, factoring in equipment age, repair history and local energy rates to guide an informed decision.
Homeowner Troubleshooting Tips
Before calling for service, try these quick checks:
- Check circuit breakers and disconnect switches.
- Clean or replace washable filters every 1–2 months.
- Ensure indoor and outdoor units are free of debris.
- Power-cycle the unit via the remote or breaker for control resets.
- Verify the thermostat setpoint is correct and remote batteries are fresh.
Service Timeline & What to Expect
- Same-Day or Next-Day Appointments: Emergency slots available during peak seasons.
- On-Site Visit (60–90 minutes): Full diagnostic, customer review and written estimate.
- Repair Duration (1–4 hours): Dependent on parts availability and complexity.
- Post-Repair Walkthrough: We test system operation, demonstrate functions and review maintenance recommendations.


Schedule Service Today!
Contact us to schedule or request an estimate on installation and replacements!


Designed & Developed by:
.avif)


+
We are here to help. A person on our team will text you back! 🙌
Thank you! Your submission has been received!
Oops! Something went wrong while submitting the form.
