

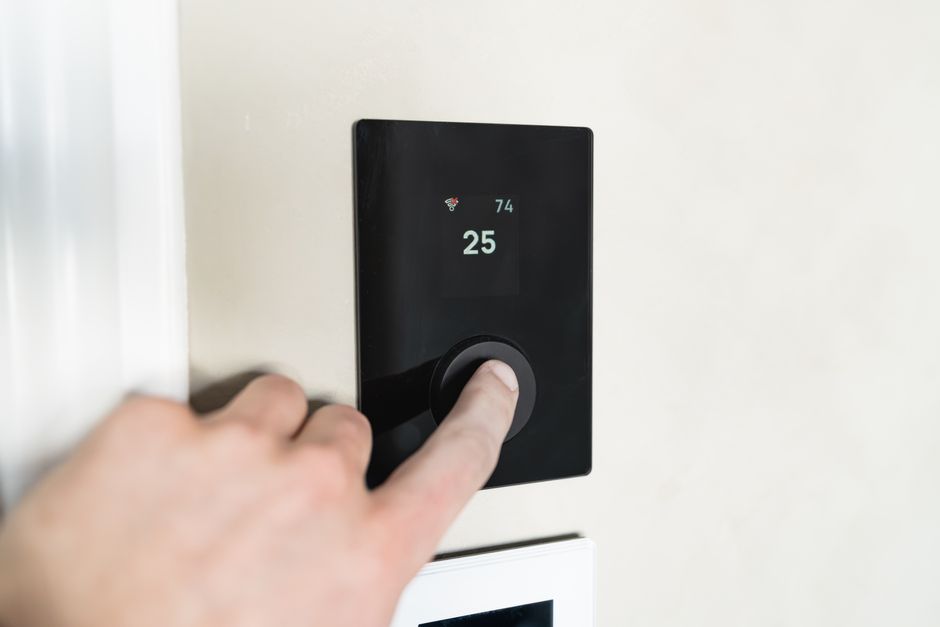
Thermostat Troubleshooting: Tricks and Tips on How to Check Your Thermostat Before Calling for Repair
Knowing how to check your thermostat before calling for repair could save you from an unnecessary service visit — and in many cases, the fix takes less than five minutes. Here's a quick rundown of essential tricks and tips to check first:
- Replace the batteries — dead or weak batteries are the number one cause of apparent thermostat failures.
- Check your circuit breaker — look for a tripped breaker labeled HVAC, Furnace, or Air Handler.
- Verify the mode and temperature settings — make sure the unit is set to Heat or Cool (not Off), and that the target temperature differs from the current room temperature by at least 5°F.
- Check the thermostat's location — a unit placed near a sunny window, supply vent, or drafty hallway will give false readings.
- Clean the thermostat — dust buildup on internal sensors can cause inaccurate temperature readings.
- Test accuracy with a separate thermometer — if the readings differ by more than 2°F, calibration or replacement may be needed.
- Inspect wiring connections — with power off, look for loose, corroded, or damaged wires behind the wall plate.
Heating and cooling account for roughly 43% of a typical home's energy bill, and your thermostat is the device that controls all of it. When it's not working correctly, everything downstream suffers — from comfort and energy consumption to the long-term health of your HVAC equipment. According to industry data, as many as 25% of furnace repair calls turn out to be thermostat-related issues that homeowners could have diagnosed themselves.
The frustrating part? Thermostat problems often look exactly like HVAC system failures. A homeowner in Bridgeville might call for an expensive repair, only to find out the real culprit was a tripped furnace door switch — or a thermostat sitting in direct afternoon sunlight that was telling the air conditioner the house was warmer than it actually was.
This guide walks you through every step of the process, from the simplest battery swap to more advanced wiring checks, so you can troubleshoot with confidence before picking up the phone.

Important how to check your thermostat before calling for repair terms:
- ac circuit breaker keeps tripping what it means
- ac not turning on what to check first
- ac troubleshooting tips before calling a pro
Common Signs of a Malfunctioning Thermostat
Before diving into the actual diagnostics, it is helpful to recognize the classic symptoms of a struggling thermostat. Because this little wall-mounted device serves as the command center for your entire heating and cooling system, any hiccup at the control-signal level will ripple throughout your home.
When a thermostat begins to fail, it rarely stops working all at once. Instead, it sends erratic or incorrect signals that force your heating and cooling systems to work much harder than they should. If you notice any of the following warning signs, it is time to check your thermostat before assuming your entire HVAC system is broken. If you are experiencing broader cooling issues, you can also learn how to Troubleshoot Common AC Problems to rule out other system components.
The most common signs of a malfunctioning thermostat include:
- The Unresponsive or Blank Screen: A dark, flickering, or frozen display means your thermostat cannot transmit commands to your heating or cooling system.
- Inconsistent Room Temperatures: If one room feels like a tropical greenhouse while another feels like a polar parlor, the thermostat may be reading local temperatures incorrectly.
- Short Cycling: This occurs when your furnace or air conditioner turns on and off rapidly in short, inefficient bursts rather than completing a standard 10-to-15-minute cycle.
- Sky-High Energy Bills: When a thermostat's internal sensor drifts, it can keep your system running far longer than necessary, driving up your energy consumption.
How to Check Your Thermostat Before Calling for Repair When the Screen is Blank
A blank display is one of the most alarming sights for a homeowner, but it is often the easiest to resolve. When your thermostat's screen goes dark, the very first thing we recommend checking is the power supply.
For battery-powered thermostats, do not wait for a low-battery warning to appear on the screen. Weak batteries can still cause the screen to flicker or go completely blank. We recommend replacing the batteries at least once a year. When you do, choose high-quality lithium batteries rather than standard alkaline or rechargeable ones, as lithium batteries provide a more consistent voltage over their lifespan.
If fresh batteries do not restore the screen, check your home’s electrical panel. Look for a tripped circuit breaker labeled "HVAC," "Furnace," or "Air Handler." If the breaker has tripped, flip it fully to the "Off" position and then back to "On."
Another common culprit is the "secret" safety switch located near your indoor furnace or air handler. This is often a standard light switch mounted on the side of the unit or on a nearby wall. It can easily be bumped or flipped off accidentally while moving holiday decorations or storage boxes. Additionally, your indoor unit has a blower compartment door switch; if this door is not closed completely and sealed tight, the safety switch will remain open, cutting off all low-voltage power to your thermostat. If your system still refuses to power up after these checks, you can read more about Why Your AC Won't Turn On.
System Communication and Short Cycling Issues
When your thermostat is failing to communicate properly, it can cause your system to "short cycle." In a healthy home, an HVAC system runs for 10 to 15 minutes to reach the desired temperature before shutting down. This allows the system to distribute air evenly and remove humidity.
If your thermostat's sensor is dirty, miscalibrated, or placed in a poor location, it may tell the system that the target temperature has been reached just minutes after it starts. The system shuts down, the local temperature around the thermostat immediately shifts, and the thermostat calls for heating or cooling again.
This constant on-and-off cycling is incredibly energy-intensive and puts immense wear and tear on your system's compressor and blower motor. Over time, persistent short cycling can lead to premature equipment failure. If your system is turning on and off constantly but your home remains uncomfortable, you may be dealing with an AC Not Cooling scenario that stems directly from a faulty control signal.
How to Check Your Thermostat Before Calling for Repair: Settings and Placement
Sometimes, the issue is not a broken component but rather a simple settings mismatch or an environmental factor that is throwing off the thermostat's sensors. Before calling in a technician, a thorough check of your basic programming and the physical environment around the unit is essential. For a complete overview of what to review, check out these AC Troubleshooting Tips Before Calling a Pro.
Verifying Mode and Temperature Setpoints
It may sound incredibly basic, but we always start by verifying that the thermostat is set to the correct mode. During seasonal transitions, it is easy to forget to switch the system from "Heat" to "Cool," or vice versa. If your home feels chilly but the thermostat is still set to "Cool" (or is turned "Off"), your furnace will never receive the signal to start. If your system has been idle for several months, you can check our guide on what to do when your AC Won't Start After Winter Storage.
To test if your thermostat is actively communicating with your HVAC system, we use the 5-degree rule:
- Note the current room temperature displayed on the thermostat.
- If you want to test the heating, switch the mode to "Heat" and raise the target temperature at least 5°F above the current room temperature.
- If you are testing the cooling, switch the mode to "Cool" and lower the target temperature at least 5°F below the room temperature.
- Set the fan setting to "Auto" rather than "On" (as "On" runs the fan continuously even when the system isn't heating or cooling).
- Wait up to five minutes. Most modern thermostats have a built-in compressor delay protection feature to prevent short cycling, so the system may not start instantly.
If you hear a click from the thermostat and your indoor fan or outdoor condenser starts up, your thermostat is successfully sending signals to your HVAC equipment.
Evaluating Thermostat Location and Environmental Factors
A thermostat can only measure the temperature of the air immediately surrounding it. If it is placed in an unrepresentative part of your home, it will make poor decisions for the rest of the house. This is known as location bias.
Ideally, a thermostat should be mounted on an interior wall, in a frequently used central living space, and at shoulder height (about 5 feet off the floor). This ensures it measures the average temperature of the living space.
If your thermostat is mounted in any of the following locations, it will experience significant sensor drift and accuracy errors:
- In Direct Sunlight: A thermostat placed across from a sunny window will absorb radiant heat. It will read the room as much warmer than it actually is, causing your air conditioner to run constantly.
- Near Supply Vents or Drafty Hallways: If cold air from an AC vent blows directly onto the thermostat, it will quickly satisfy the setpoint and shut the system down before the rest of the home is cooled.
- Near Kitchens or Heat-Producing Appliances: Cooking heat or warmth from electronics can trick the thermostat into thinking the house is hot.
Up to 4°F of error can be introduced simply by poor placement. Over time, this constant exposure to localized temperature swings can cause the internal thermistor to degrade, leading to permanent calibration issues.
Physical Maintenance, Wiring, and Reset Procedures
Like any electronic device, a thermostat requires occasional physical maintenance to remain accurate. Dust, loose wires, and old components can all interfere with the low-voltage signals that keep your home comfortable. Keeping up with these small tasks is a key part of learning How to Maintain Your Heating and Cooling System.
Cleaning Internal Components and Leveling
Dust is the silent enemy of thermostat accuracy. Over months and years, "mischievous dust bunnies" and airborne grime can settle on the internal sensors of your thermostat, creating an insulating blanket that prevents the unit from reading the true room temperature.
To clean your thermostat:
- Turn off the power to your HVAC system at the circuit breaker.
- Gently pull the thermostat cover off its wall baseplate.
- Use a can of compressed air to blow away loose dust from the internal circuit board and sensors.
- Use a soft brush or a clean cotton swab to gently wipe away any stubborn grime.
- If you have an older mechanical thermostat, pay special attention to the bimetallic strip (the coiled metal piece) and the contact points.
While the cover is off, if you have an older mercury bulb thermostat, check that the unit is perfectly level on the wall. Mercury switches rely on gravity to roll a drop of mercury across contact points; if the wall plate is tilted even slightly, the thermostat will turn your system on or off at the wrong temperatures.
How to Check Your Thermostat Before Calling for Repair Using a Reference Thermometer
If you suspect your thermostat is misreading the room temperature, you can easily test its accuracy using a separate, calibrated digital thermometer.
- Tape a reliable digital thermometer to the wall next to your thermostat, placing it within 2 inches of the thermostat casing.
- Place a small piece of paper behind the reference thermometer to prevent the wall's temperature from affecting the reading.
- Keep the HVAC system turned off and avoid opening nearby doors or windows for 15 to 20 minutes to allow the air to stabilize.
- Compare the reading on your thermostat to the reading on the reference thermometer.
If the two readings are within 1 to 2°F of each other, your thermostat's sensor is functioning normally. If the difference is 3°F or more, your thermostat is experiencing sensor drift. Many modern digital and smart thermostats allow you to adjust a "calibration offset" in their settings menu to correct this error. If your thermostat does not have this feature, or if the variance is greater than 5°F, the internal sensor has likely failed, and the unit will need to be replaced.
Inspecting Thermostat Wiring and Connections
If your thermostat has power but still refuses to turn on your heating or cooling system, the issue may lie in the low-voltage wiring behind the wall plate.
Before inspecting any wiring, always turn off the power at the circuit breaker to prevent accidental short circuits that could blow a fuse on your furnace's control board.
Once the power is off, remove the thermostat faceplate to expose the wiring terminals. Here is what to look for:
- Loose Screws: Each wire should be firmly secured under its corresponding terminal screw. Give each wire a very gentle tug to ensure it is tight.
- Corrosion: Over time, copper wires can oxidize, creating a thin layer of corrosion that blocks electrical signals. If you see green or dark crust on the wires, they may need to be stripped back to expose fresh copper.
- Burnt or Damaged Insulation: Look for scorch marks or melted plastic, which indicate a short circuit or electrical fault.
To make this DIY inspection easier, we recommend gathering a few essential tools:
- Screwdriver: A small flathead or Phillips screwdriver to secure terminal connections.
- Multimeter: To verify that the thermostat is receiving 20 to 30 volts AC (typically measured between the R and C terminals).
- Soft Brush or Compressed Air: For safe dust removal.
- Reference Thermometer: To run your temperature accuracy tests.
- Painter's Tape: To label each wire before disconnecting anything, ensuring you don't lose track of which wire goes to which terminal (R, W, Y, G, C).
Performing a System Reset and Bypass Test
If your digital or smart thermostat is behaving erratically — such as ignoring your programmed schedule or dropping its Wi-Fi connection — a simple factory reset can often clear out software glitches. Consult your owner's manual for the specific button combination or menu setting required to reset your model.
For advanced DIYers, a manual bypass test (also known as a jumper test) is the ultimate way to determine whether your HVAC system or your thermostat is at fault. This test simulates the thermostat calling for heating or cooling by connecting the wires directly.
- To Test Heating: With the power off, disconnect the wire from the R terminal (power) and the W terminal (heat). Touch these two bare wires together (or use a small jumper wire to connect the terminals), then turn the power back on. If the furnace starts up immediately, your furnace is fine, and the thermostat is the problem. If your furnace does not start, the issue lies within the heating unit itself, such as a Furnace Not Heating failure.
- To Test Cooling: Follow the same steps, but connect the R wire to the Y terminal (cooling). If the outdoor AC compressor and indoor blower start up, your cooling system is functional, pointing to a faulty thermostat.
Frequently Asked Questions About Thermostat Troubleshooting
Why is my thermostat screen blank even after changing the batteries?
If fresh batteries do not bring your display back to life, the thermostat may not be receiving its secondary 24-volt AC power from the indoor HVAC unit. Check your circuit breaker panel for a tripped switch, and make sure the safety switch on your furnace or air handler is turned on. Additionally, verify that the blower compartment door on your furnace is completely closed; if it is loose, an internal safety switch will cut all power to the thermostat.
Can a bad thermostat really cause my energy bills to spike?
Yes, absolutely. If your thermostat's internal sensor drifts by just 3°F, it can cause your heating or cooling system to run for hours longer than necessary each week. Furthermore, a malfunctioning thermostat can cause your system to short cycle, which is the most energy-intensive way for an HVAC system to operate, leading to a significant spike in your monthly utility bills.
How often should I replace my home thermostat?
Most residential thermostats have a functional lifespan of approximately 10 years before sensor drift or control board degradation begins to affect their accuracy. Even if your thermostat has no visible damage, upgrading to a modern smart thermostat after a decade is a smart move. Modern units offer better precision, remote smartphone control, and automated scheduling that can save you up to 10% annually on heating and cooling costs.
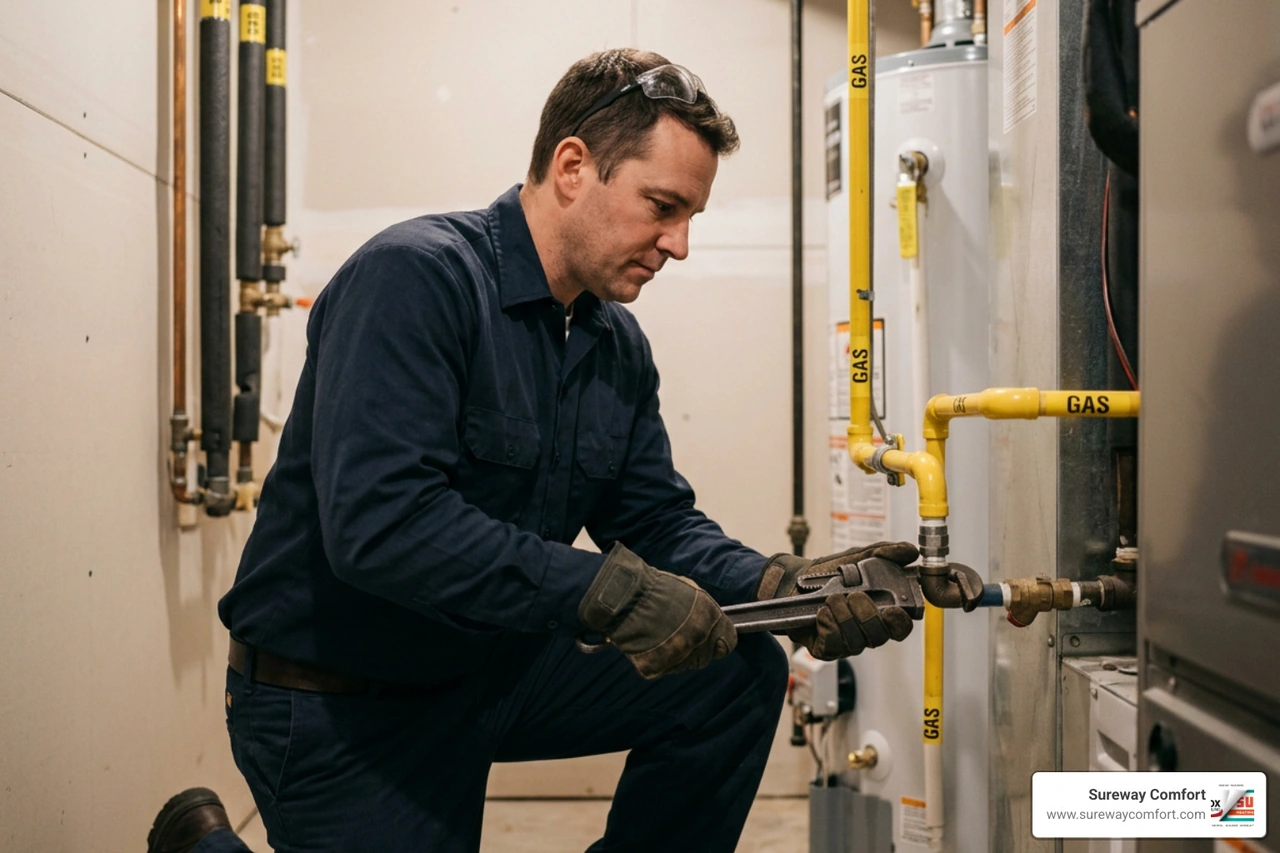
When to Stop DIY Troubleshooting and Call a Professional
While basic checks like changing batteries, cleaning dust, and verifying settings are perfectly safe for homeowners to perform, there is a point where DIY troubleshooting should stop.
Low-voltage thermostat wiring operates at 24 volts, which is generally safe to handle. However, if you encounter any of the following scenarios, it is time to turn the job over to a professional technician to protect both your safety and your expensive HVAC equipment:
- High-Voltage Systems: If you remove your thermostat cover and see thick wires joined by wire nuts, or if your thermostat is labeled "120V" or "240V" (common in baseboard electric heaters), you are dealing with line-voltage electricity. This carries a severe risk of electric shock and should only be handled by a professional.
- Persistent Short Cycling: If your system continues to turn on and off rapidly after you have cleaned and recalibrated the thermostat, the issue may be a failing compressor, a clogged air filter, or a refrigerant leak.
- Wiring Confusion: If you remove your old thermostat and find a complex web of unlabeled wires, or if your new thermostat requires a "C-wire" (common power wire) that your current system lacks, a professional can safely install a power adapter or run new wiring without damaging your system's control board.
- No Response from Bypass Tests: If your heating or cooling system fails to start during a manual jumper test, the problem is located within the HVAC equipment itself.
To keep your system running smoothly year-round and catch control issues early, we highly recommend scheduling Preventative HVAC Maintenance.
| Diagnostic Step | DIY Action | When to Call a Professional |
|---|---|---|
| Power Issues | Replace batteries; check circuit breakers and furnace switches. | Screen remains blank after checking power; burnt wiring is visible. |
| Inaccurate Readings | Clean internal dust; check placement; adjust settings offset. | Thermostat is placed in a poor location and needs to be physically relocated. |
| System Testing | Run the 5-degree test; check mode settings; perform jumper test. | System does not respond to manual jumper tests; complex wiring is required. |
| Short Cycling | Clean the thermostat sensor; replace dirty home air filters. | System continues to short cycle after cleaning and testing the thermostat. |
Safe HVAC Service in Bridgeville, PA
If you have walked through these troubleshooting steps and your home still is not reaching the perfect temperature, the team at Sureway Comfort is here to help. We provide reliable, honest diagnostics and professional heating and cooling services throughout Bridgeville, McDonald, Mt Lebanon, Bethel Park, Canonsburg, Collier, South Fayette, Upper St. Clair, Carnegie, Green Tree, Scott Township, Brookline, and Oakdale.
Our experienced technicians can quickly determine whether your comfort issues stem from a simple thermostat calibration error or a deeper mechanical issue within your furnace or air conditioner. We are your neighbors, we will get it done right, and we offer responsive scheduling to get your home's climate control back on track.
If you are ready to upgrade to a modern, energy-efficient smart thermostat, or if your cooling system needs expert attention, explore our Air Conditioning Services or reach out to us today to schedule your diagnostic visit!


.avif)


